
# Ender 6
cheap CoreXY - r/ender6/ / klipper config / server / Moonraker
Hardware / darty - 2022 - 295€
- Ender 6 linear rail (Y)
- Ender 6 Complete Linear Rails Mod
- Belt Tensioning and Replacement Belt Source
Hotend
The ender 6 has a 2 pin connector on the “heat” wire, or the heat catridge that is unique to the printer. The rest is the same.
Motherboard
For idea for replacement
- Ender 6 (duh), SKR Mini E3 v3.0, Klipper - IT’S ALIVE!
- Toasted motherboard (suggest upgrade)
- BTT Octopus - considered for custom toolchanger
Spray Board
- What is the K-fan1? - 2nd part cooling fan. Share the same pin as k-fan
Screen
- DMT48270C043_03W / 2012 Instruction Manual Beijing DWIN Technology - also know as DGUS, see Klipper
Firmware (Creality 1.0.4.9 20/04/2022)
unzip
- .bin file is for flashing printer board
- DWIN_SET.zip is for flashing screen board (was not neccesary for bltouch)
- need to unmount screen to access sdcard slot
Issue with Octoprint see
First layer
- Bed adhesion
- for the 1st layer, bed temp 70
- for the 2nd layer, bed 60
- spring are sensible to heat variation (especially when room temp is close to 30°C)
Customisation
- Open Woven Sleeves / alternative to cable chain - Câble Gaine de Protection Réglable
- USB access : usb slot on motherboard, need to unscrew plate, there is a hole in the frame to pass a cable (need to remove the power supply to pass the cable inside the frame)
Misc
Ender 6 Y endstop relocation - easy to get more space
[
Ender 6 Extruder Relocation
- smoothed version of the spacer
- filament guide and filler plate
- or from Filament Guide / Extruder Filler
Spool inside
Once using a direct drive (or having moving the extruder).
- reverse bowden guide
-
My Ender 6 Journey to reliable, satisfying printing
- cable chain - is it good? - no! / Safe 3D Printer Wiring Guide Using Drag Chains
- stock screen with klipper / 2
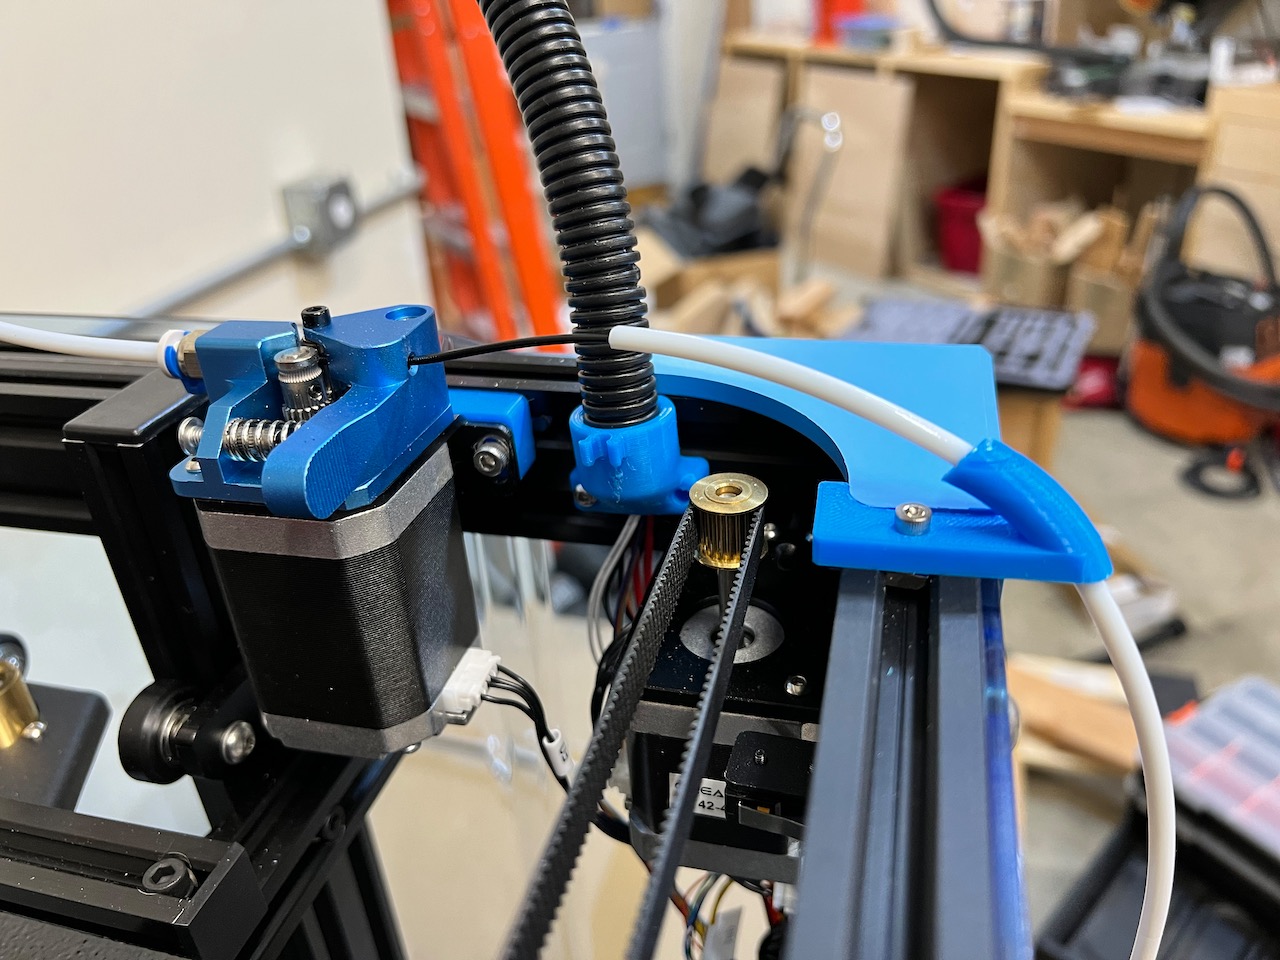
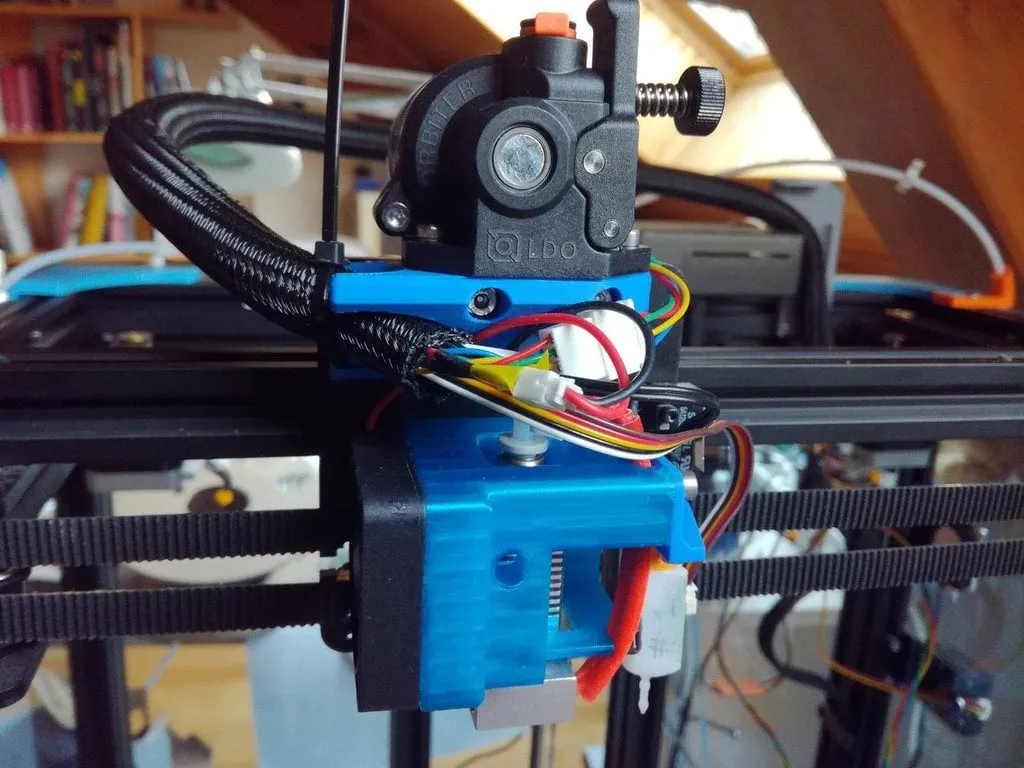
Direct Drive
Now running with Orbiter v2.0 and custom head.
Previously
Alternative
Z sensor
3DTouch Auto Leveling Sensor / BL-Touch
[creality firmware 1.0.4.9 20/04/2022 doesn’t work with **3DTouch v3.2**] - it Works with Klipper using same board
BLTouch installation
- Wiring BLTouch / 2 - ender6 as a JSP connector for BLTouch. one can use the cable extension and join dupont together (matching colors) to connect both jsp end. - creality firmware needs flashing.
- info on default motherboard wiring - default is working fine with klipper
- Does 3d touch work on ender 6 / What Version of BLTouch works with Ender-6
- Ender 6 CR Touch - rewire
Klipper
- Klipper - install on ender 6
You need to use the Desuuuu klipper build if you want the screen to work. - see Stock Screen? after installing Klipper Concerned Topics:
Klipper compilation
Merge Desuu branch into main line
$ git clone https://github.com/Klipper3d/klipper
$ cd ~/klipper/
$ git remote add -f desuu https://github.com/Desuuuu/klipper
$ git merge desuu/dgus-reloaded
# resolve conflict on README only
$ git commit -am "resolve"$ cd ~/klipper/
# retrieve dependancy
$ ./scripts/install-debian.sh # or other OS as apropriate
$ export LC_ALL=C # maybe necessary to resolve locale.Error: unsupported locale setting
$ make menuconfigChoose option for Ender6/Desuu screen
- Enable extra low level
- Micro-controller Architecture STM32
- processor model STM32F103
- bootloader offset 28Kib
- clock 8Mhz
- USART1 on PA10/PA9
- Enable Degus screen
- screen serial UART3
- 250k serial ports

Build et flash
$ make
# then retrieve /klipper/out/klipper.bin file on an SD card.
This will flash the ender6 firmware. Screen has to be flashed separately to be functional.
Next, plug the SD card in your printer and turn it on. The installation process takes about 15 seconds. I recommend you wait for a minute, then remove the SD card and restart your printer.
When you are flashing the board firmware, there won’t be any information displayed on the touchscreen. It might look like the screen is stuck, and the progress bar does not move, but this is ok. Just continue to the next step.
It’s also worth noting that if you want to re-flash the board, always change the filename. The Creality board doesn’t start the flash process again, if you use the same firmware name, as in your previous flash.
Flashing screen
- unbox the screen,
- get access to the mini SD Card port
- format SD Card to FAT32 and 4096 bytes sector (mandatory)
- partition disk if greater thatn 16Go, to be able to specify 4096 boot sector (system windows partition tools will allows that)
- or with a correct sized partition (16go) on linux, use
-
lsblk, thensudo mkfs.fat -S 4096 /dev/sdxn
- alternative - untested - sudo mkdosfs /dev/DISKANDPARTITION -s 16 -F 32
- copy DWIN_SET from latest release
- add T5UID1.CFG from here
Flashing
- Turn off and unplug your printer (both power and USB).
- Insert the micro SD card into the slot.
- Do not cut power to the printer while the flashing procedure is running!
- Plug the printer’s power cable back (and only the power cable) and turn the printer on.
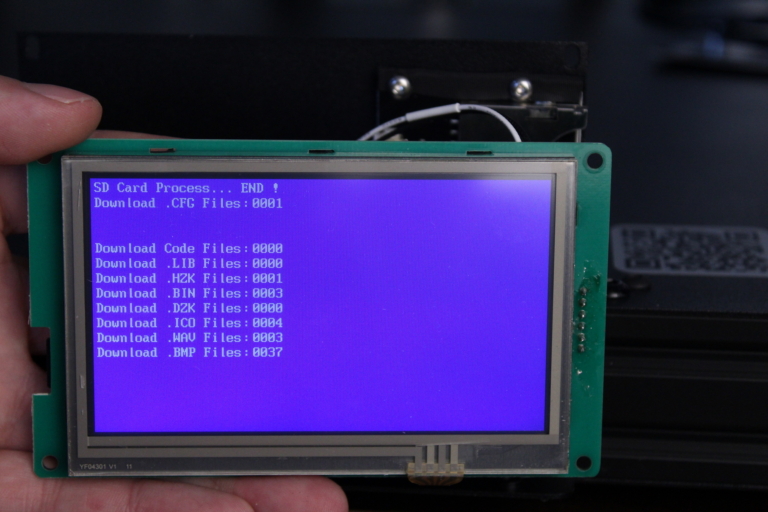
- After a few second, the screen’s background will turn blue and the flashing procedure will begin.
- When the procedure ends, you will be back on the page with a blue background. There will be an END message at the top and you’ll be presented with a summary of what was flashed.
- if all presented with
Download .xxx Files:000 thenNo flashing has been done probably because SD Card does not respect 4096 sector size.
- if all presented with
- At this point, you can turn your printer back off, remove the micro SD card from the touchscreen and reassemble your printer if you had to disassemble it previously.
* Desuu menu config option*