
Material Flow / Extrusion ratio (Calibration)
- tuning your extruder steps/mm value - this mechanical part can use recommanded value
- tuning your extrusion multiplier - this is specific to each filament
Tuning your extruder steps/mm value
When the g_code require a certain amount of filament, this allow to get the right length of filament.
Instruction to calibrate this:
- setup factory parameter for extruder (eg orbiter)
- take a light color filament that can be marked
- insert filament in extruder directly (not within bowden)
- make sure flows go through
- make a mark at 70mm above the extruder entry
- extrude 50mm
- measure what’s left above the extruder entry (it should be 20mm)
- if there is a difference of more than 1mm - use formula to adjust parameters
Next calculate flow per filament (Tuning your extrusion multiplier section).
How do you determine your printer’s max volumetric speed?
- Speed & Max Flow Tuning (gcode) - from teaching Tech
- Determining Maximum Volumetric Flow Rate
- Cura :page_facing_up: has not yet added this feature - Set Max Flow in your slicer.
- Move exceeds maximum extrusion (klipper) - safety feature of Klipper
Ender 3 Ender 6 default extruder + CHT nozzle 0.6 max is aboug 12mm³/sec which correspond to 0.6 nozzle, 04 layer height and xx mm/sec
Tuning your extrusion multiplier
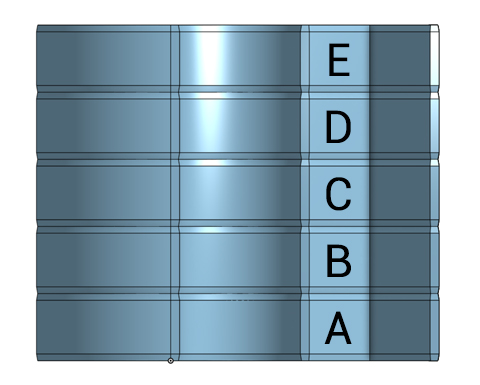
Using Orca Slicer
This is also available in Cura plugin Calibration shape - multi flow test
- choose a filament profile close to the filament you are using
- print the extrusion test
- look for the relative flow setting that looks the best (on the outer surface)
- apply formula to current flow.
A very simple and fast print test for configuring a 3d printer extrusion ratio.
see also the calculator
On Cura the extrusion ratio can be found in Material.flow.
- using Materials plugins the Material flow, can be stored be material config (as well as other parameters).
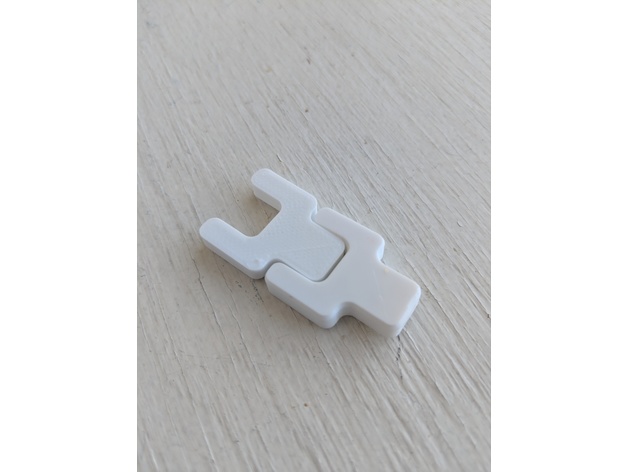
Negative Space Test
Written on October 27, 2017, Last update on February 5, 2024
3dprint
calibration
cura