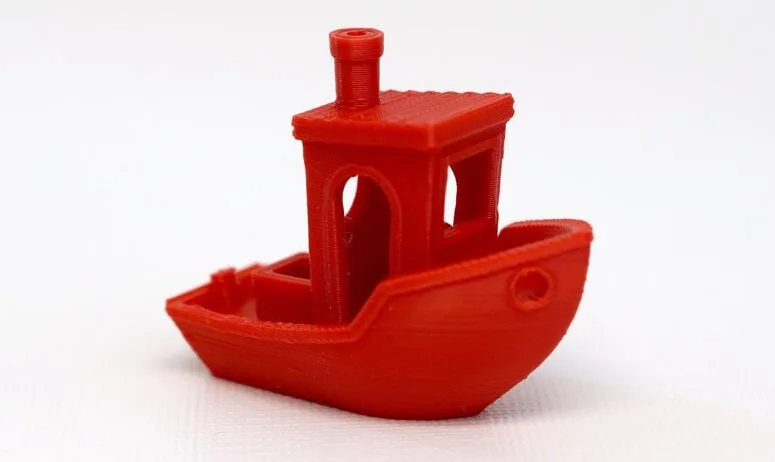
Speedboat (3dprinter)
Speed Benchy Settings Rules
Max Line width: .5mm
Max Layer height: .25mm
2 Walls
3 Top/Bottom Layers
10% Infill (You may combine infill every other layer)
15min
- Recommend good settings on speedboating?
- Ender 3 - 16 minute quality benchy
- PLA at 210°C
- 0.24mm layer height
- 20% triangle infill
- 300mm/s travels
- Autospeed with 20mm³/s peak flow
- 5k mm/s² acceleration on externals
- 10k-20k mm/s² acceleration otherwise
- 20mm/s square corner velocity
- 0.03s pressure advance
- 0.02s pressure advance smooth time
- MZV input shaper
- Ender 3 - 16 minute quality benchy
Speed & Acceleration
from Ellis’ Print Tuning Guide
Determining if Skipping Occured
Orca Slicer
Speed up print
- Use greater step for layer height, eg: 0.28 vs 0.2 vs 0.1
-
and use a larger nozzle 0.8 > 0.6 > 0.4
- Cura Acceleration setting
- temperature
- speed (feed rate)
- nomber of slower layers - the number of layers from the bottom layer it takes to reach the print speed.
-
equalize filament flow - print small wall at higher speed than normal.
-
enable accelleration control - reduce the speed set in the firmware (Klipper) - accelleration is also used to estimate the print time.
- enable jerk control - reduce the speed set in the firmware (Klipper)
Acceleration Setting
Your slicer doesn’t actually have much to do with acceleration, in so far as emitting G-code to say where the print head should go and at what speed. It’s the firmware which sets limits to speed and deciding how fast to accelerate to a given speed.
This render the estimated time pretty inaccurate when setting speed above the default.
Jerk - an approximation value that specifies the minimum speed change that requires acceleration.
having a Jerk value of 10 gave the same printing time at 60mm/s speed as a Jerk value of 40. Only when he increased the printing speed past 60mm/s to around 90mm/s did the jerk value give real differences in printing times.
High values for Jerk settings basically mean the change of speed in each direction is too fast, which usually results in extra vibrations.
- Cura Acceleration setting
- speed (feed rate)
- nomber of slower layers - the number of layers from the bottom layer it takes to reach the print speed.
-
equalize filament flow - print small wall at higher speed than normal.
-
enable accelleration control - reduce the speed set in the firmware (Klipper) - accelleration is also used to estimate the print time.
- enable jerk control - reduce the speed set in the firmware (Klipper)
Teaching Tech benchy For a constant feedrate of 200mm/sec
- 500 mm/sec² => 1:06:00 => this is the default ender3 seting
- 2000 mm/sec² => 33:47
- 5000 mm/sec² => 23:53 -10000 mm/sec² => 19:29
Cura printer definition setting have to be overidden to allow that.
=> for the Appimage, it is done by defining the file into ~/.local/share/cura/<version>/definition/creality_base.def.json (model can be taken from github)
Klipper limits are in the [printer] section
[printer]
kinematics: cartesian
max_velocity: 300
max_accel: 3000
max_z_velocity: 5
max_z_accel: 100
independant jerk cannot be set in cura => jerk control has to be disabled to let the printer (Klipper) control jerk.
